Friday, February 27, 2015

Show and Tell and Revolutionary Flags Border


 First up,  Show and Tell.

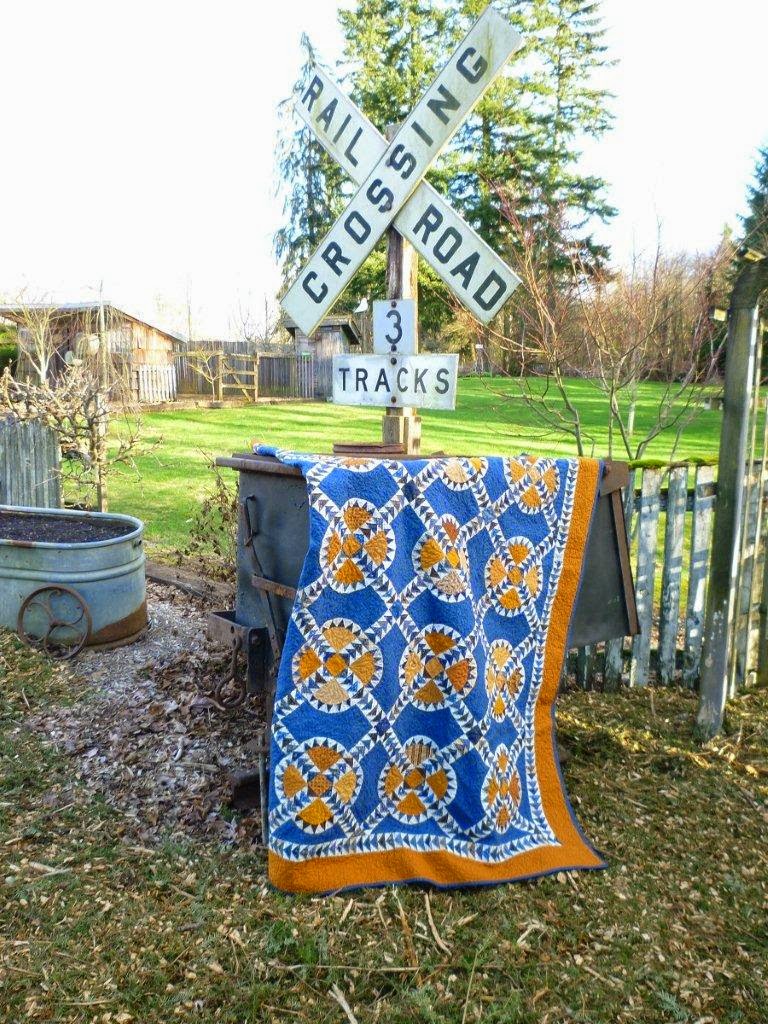
My friend Laurie made this wonderful Railroad crossing quilt. You can find info about it HERE.
I told her my one regret was not making mine larger, so she did! I know she took that photo in her backyard. Isn't that an adorable setting for this quilt?
This quilt started a fun friendship!


 Here's mine.
Dale Renee sent me a photo of her lovely MidWinter Blues from my quiltalong. 
What's not to love?!
Thank you ladies for sending me photos.  I really do enjoy seeing your quilts.
Here's the fabric I chose for the border of Flags of the American Revolution.  Looked better in my sewing room than it does on this screen. LOL

I thought I'd show you how I add my borders. It's not the only way and I'm not claiming it is the right way, but it is the way I do it. The book says to cut two  70 1/2 x 3 1/2 for the sides of the quilt. I always measure first. My quilt may be different.

 Woo-Hoo! 70 1/2" I was pretty excited about that measurement. 
 Huh? A whole inch bigger in the center? That sucks, but didn't really surprise me.
Other end.. 71", okay, not too bad. I take the 3 and average them. 
70.5+71.5+71.=213 divided by 3 is 71". That's how long I'll cut my border strips for the top and bottom. 


I don't have a huge studio so this is how I measure my long border strips. After cutting it 71" I mark the center of the border strip and the center of my quilt, line them up, then start pinning.
I do the same thing for the other direction once these two borders are sewn on.

You know what that means? MY BORDERS ARE ON! And that quilt top is complete! I couldn't be more thrilled!
So lets link up on Monday. If your top isn't done, that's fine, show us the blocks we haven't seen yet. This will be our final link up for Flags of the American Revolution quilt.

Have an awesome weekend!
Wednesday, February 25, 2015

Wednesday's Wonderings

Here are my weekly stars. (stars in a time warp)I only did one green cause I really think the solid is better as an applique fabric. And last Wednesday was double pink. Gotta love those pinks!

Linda O thought she would help me out with my orphan quilt with a few orphan blocks. They'll fit in perfectly!

5 quilts machine quilted! I want to keep plugging away at the stack that is basted before adding the binding.

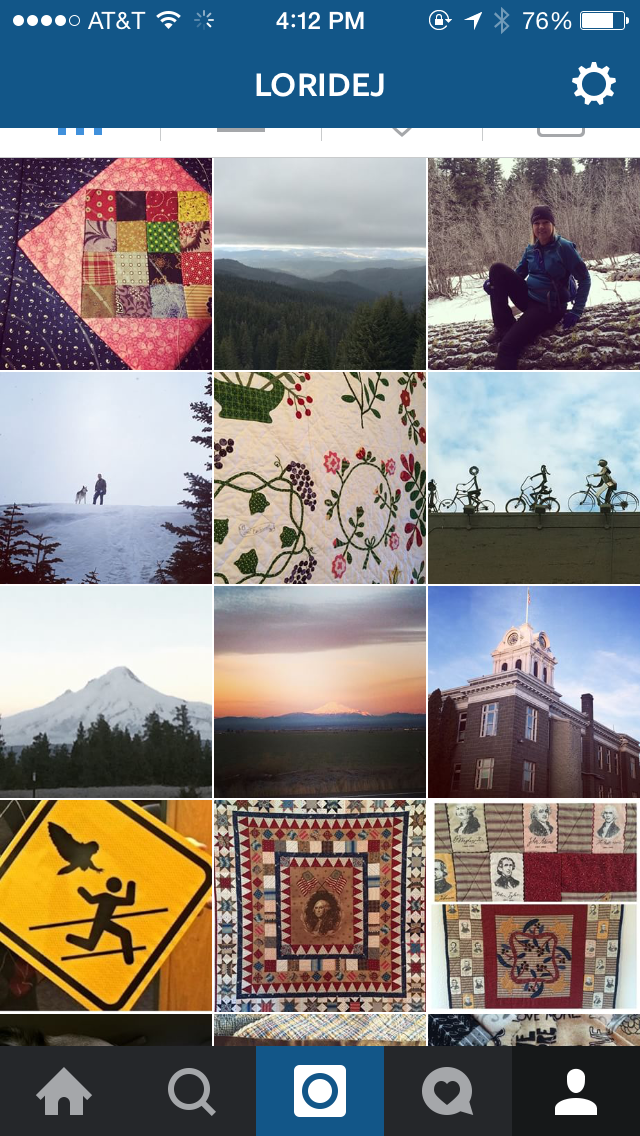
Here is a little selection of Instagram photos from my feed this past week. I try and keep it different than what is on my blog.
My pet peeve (not that it really matters) is Instagram, Facebook, Blog- same photos all the time. I'll only follow you one way if you do this.  Anyway, if you are interested in the rest of my life besides quilting, look me up on IG!

Tuesday, February 24, 2015

You want to win? You need a CONTACT!

I want everyone who wants to win the stencils to have a chance, BUT many of you are "no reply" and have not left your email. If I can find an email address relatively easy than I do!
I've deleted several comments and tried to reply to each and every person who has entered that I can reply to.
That means, if you have not heard from me, you are not entered in the drawing. Feel free to follow this link to fix it or comment again adding your email address. If you do not want to give out your personal address then may I suggest yahoo mail, hotmail, or gmail.
Go HERE to see this blog post on fixing it. Feel free to leave a test comment.  Thank you!

Monday, February 23, 2015

Quilt Stencil Giveaway! The Stencil Company!

This giveaway is now closed!


Before the holidays I was contacted by Cindy, owner of The Stencil Company about hosting a giveaway of hand quilting stencils. She is seeing more and more machine quilting (they sell those stencils too) but she doesn't want to see hand quilting to disappear. 
Although I do both I was willing to help promote their wonderful stencils. I bet you've seen them at shows or have a few of their stencils in your sewing room. They have been in business for 30 years!
The catalog and online presence is huge and I had a hard time choosing a few stencils. 

But this is what I chose from their catalog. Read through my blog and see what you need to do to win some just like it!


 I'll start with my largest hand quilting project. Beyond the Cherry Tree quilt.
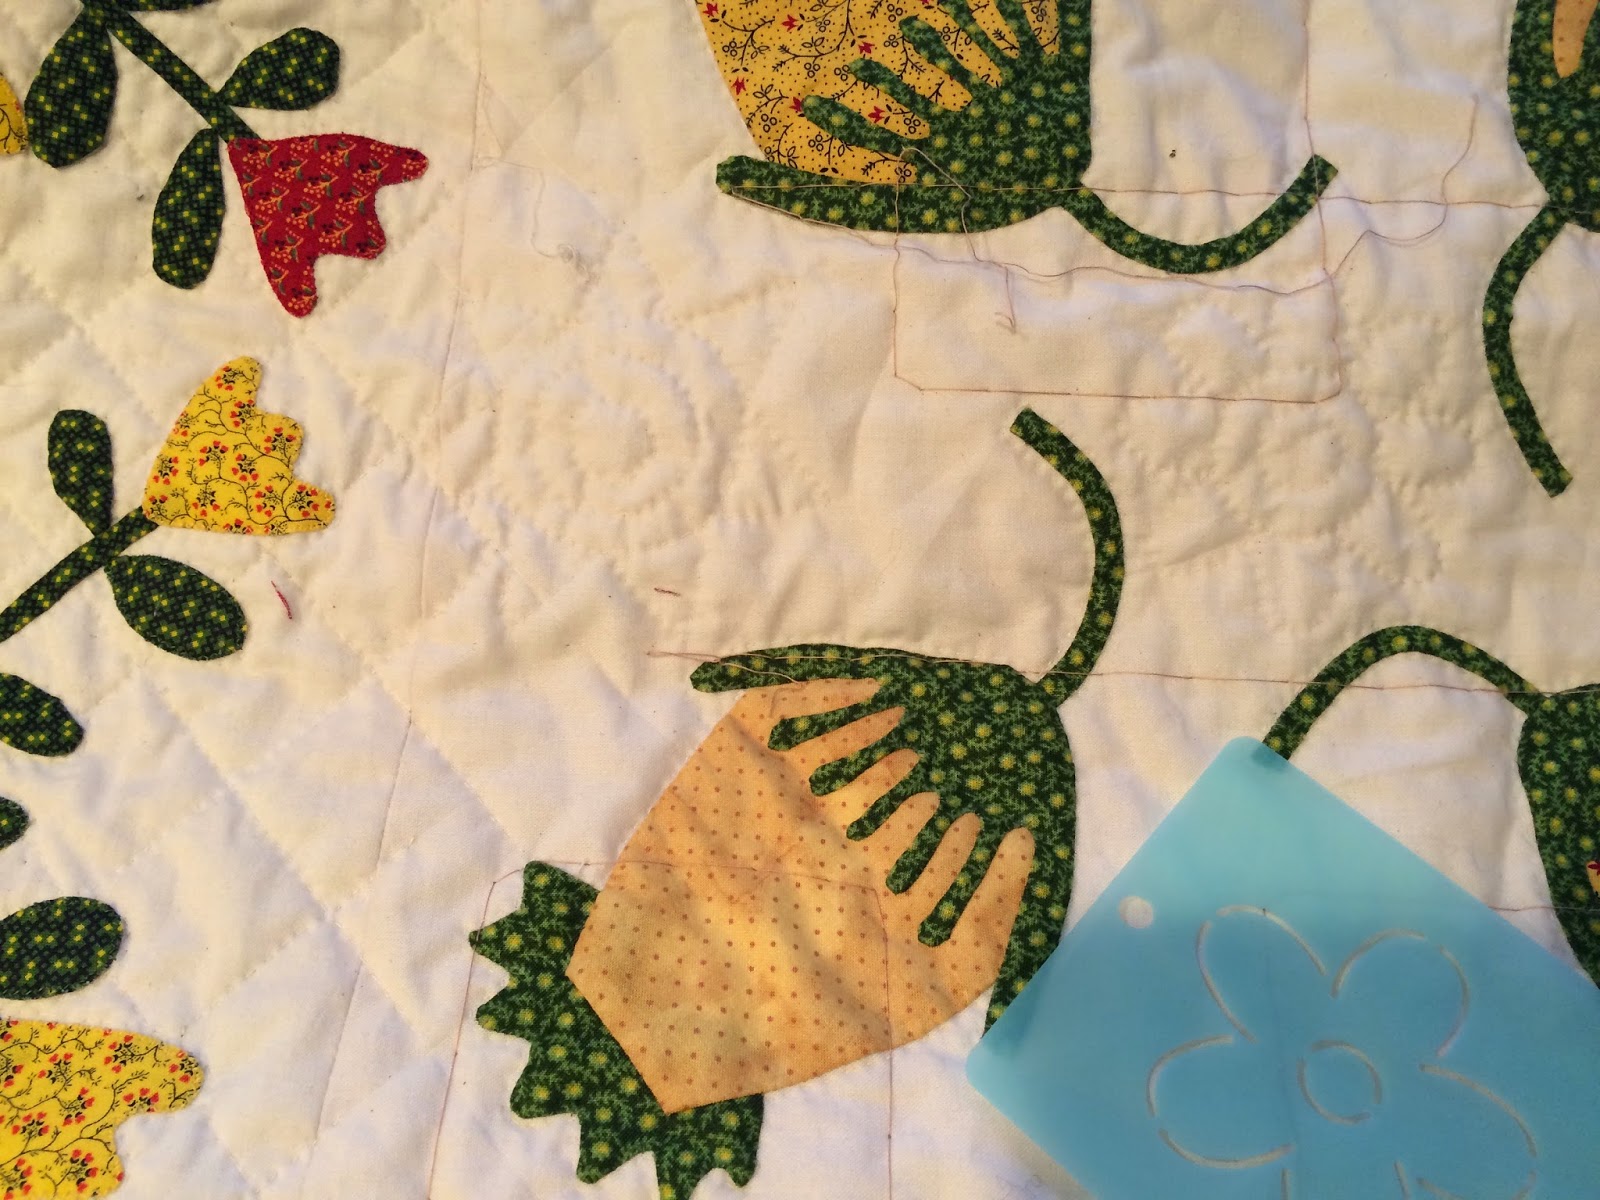
 I'm quilting like the original and adding lovely and some quirky motifs. I thought these little flowers would be a perfect addition!

 I used my frixion pen and the stencil to mark my design. (I've done tests with the frixion- search my blog if you are interested)


 I haven't hand quilted in awhile so it takes a little time for me to warm up.
 Iron to remove marks.
 Ta-Da! Motif!
 I got a little carried away with my photos.
I love this quilt!

 Baptist fan has got to be one of my favorite all-over designs. I plan on hand quilting Jill's Jewel Box quilt and think this stencil will be perfect! I love the huge 8" arcs as it will help cover a large area more quickly.
 If I did every other stencil line the arcs would be 1" apart, which personally is good.
If you want to have close lines together (1/2") you could use every line. One stencil- 2 ways!


When I use my other stencils I will also show you on my blog, but because I am the world's slowest hand quilter I will not make you wait for me to use them all!

Leave a comment and 6 lucky winners (yes SIX!) will receive the same 4 stencils I ordered! Isn't that great!? I'll draw next Tuesday, March 3. 

If you do not hear from me to say you are in the drawing that probably means you are a no-reply commenter and have not left your email address either. You will not be eligible to win. 

On my side bar is a post about how to fix it. Feel free to leave me a test message, as well.

Good luck and Happy Monday!
This giveaway is now CLOSED!

Friday, February 20, 2015

Wool Applique

I finished this lovely piece this week!
 It's A Crock! by Primitive Pieces by Lynda. She has one of the best websites to scroll through (imnsho) Take some time to see what she creates. I love the name of her quilts too. I've done several of her patterns and have never been disappointed.
 Several moons ago I won a giveaway on her blog- any pattern, and this is what I chose.
 Once I actually opened it up and planned to wotrk on it, I realized it was larger than I had originally thought. I needed a big chunk of wool for the background and didn't ahve it.
What I did have was this gorgeous piece of tobacco colored silk matka fabric.  It isn't silk, like sheets or a fancy dress. It is soft but hardy enough to withstand wool being hand appliqued to it. It held up well, alhthough it does ravel a little. (or is that unravel?)

 I didn't have a big chunk of wool laying around for the backing either, but I did have some woolie flannel, which I think is perfectly acceptable for the backing.
 I couldn't be more happy with it. Thank you Lynda!
Designed by Maggie Bonanomi. I've done several of her patterns and love them! 

Click HERE to see more of my wool applique.

Have a fantastic weekend!


Wednesday, February 18, 2015

Flags of the American Revolution Quilt Construction

If you haven't started to assemble your Flags quilt, now would be a great time to start! I had a few pieces together and you can see them HERE.
Iron as you go.

Sew to the top of the eagle.
Then sew to the bottom.

Here's my signature block.
Attach blocks as shown.
Sew to the right side.
Keep sewing blocks together!
A few more.
Sew to the left side, but do not sew all the way to the crescent filler block.
Like this.
Then sew these blocks together.
Oops! I had to unsew this one. Sorry if I steered you wrong.
Sew this strip to the top.

 Make this strip.
Add it to the left side/
Add your Liberty crescent to the bottom of these two strips.
Now you can finish that partial seam.

Ta-da! Look how it is coming together!
Sew these blocks together.
And add that strip to the bottom.  Admire your hard work!

The book calls for a simple dark border. I haven't sewn mine on yet, but lets show everything you haven't shown- blocks or a top on  February 27th. 
I'm looking forward to seeing great blocks and tops!
This has been great and such a good way to get a quilt top done and have so much fun!